One of the big selling points for buying our house was having a functional, wood-burning fireplace. It was love at first sight for me. I mean, the 70’s gold and glass doors and the giant, vacant looking white brick just made my heart stop. Not really, but I saw the potential. All I needed to hear was that the chimney was usable and I was ready to cuddle up.
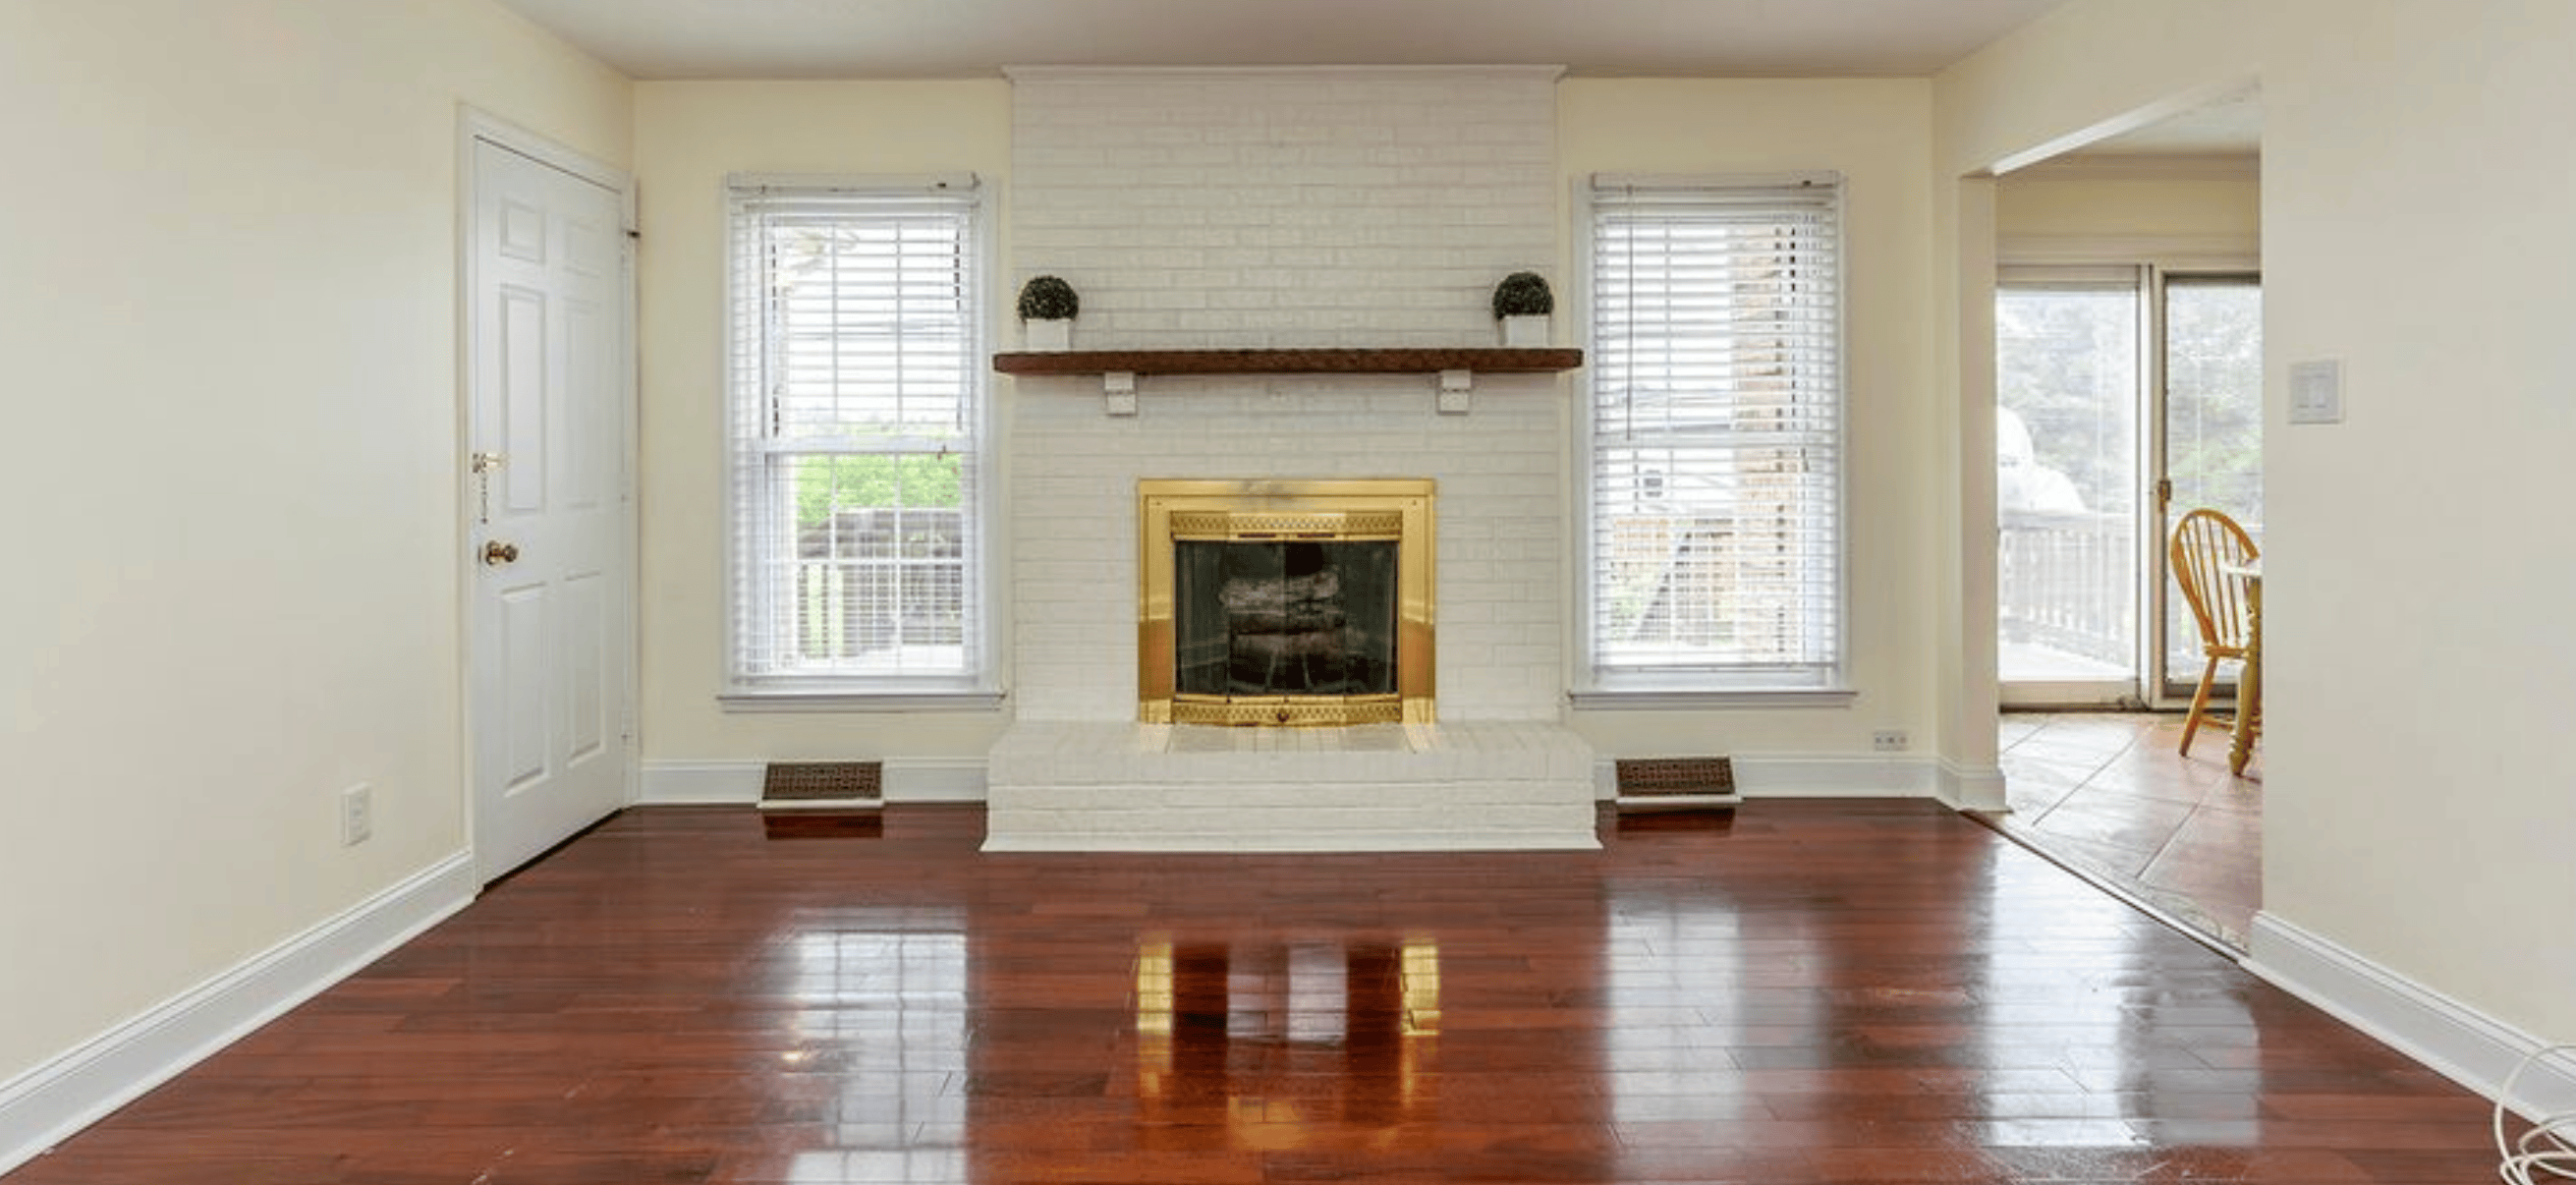
I know somewhere along the way someone decided to paint it as an “upgrade”. It wasn’t long ago that the brick look was out and we were painting everything white. It’s just so….. permanent. At first, I thought I would have to paint it again or just get rid of the screen and live with the rest.
After we moved in, arranging the furniture presented a new challenge. We needed maximum seating for our weekly church Home Group and to be able to entertain and watch sports comfortably. But where does the television go while also centering the room around the fireplace while also leaving walkways open for the three doorways into the room?!? The left door leads to the basement stairs, the right is the kitchen, and there is another walkway from the hall at the bottom left corner.
To me, the obvious solution was to hang the TV. Jeff said no way. There were no outlets on the wall and with brick there wasn’t a way to add a new outlet that would remain hidden. I kept staring and staring at it; searching for relevant Pinterest pins and googling solutions.

Finally, it dawned on me. Why couldn’t we recreate the look of beautiful, timeless millwork and hide the cords between the bricks and the wood? We’ll bring in much needed warmth and character while solving our “where do we hide cords?” problem. I was thrilled. He was pretty sure it would work if he could pull electrical over from the kitchen, run it up through the ceiling in the attic and drop it straight down over the fireplace.

Here is the cord sticking down from the ceiling. Taking away the gold cover did wonders already!
Please excuse these pictures, I never imagined I’d actually decide to share them with the world. We toyed with board and batten designs but ultimately I liked the simplicity of v- groove paneling.

Jeff started by screwing 2 x 4s into the brick as a foundation to attach the exterior panels to. He nailed in the v-groove up top and used cabinet grade plywood to surround the hearth. You can see the new plug getting it’s wires all hidden away!
Next, we had to build in a mantle. A mantle is something you tend to just look at and not realize how many different pieces of wood make it up. I wanted it simple but not too modern, leaning a little traditional to mix up the shaker vibes. We purchased a few different pieces of crown molding. I liked the thickest piece flipped upside-down with a simple 2×6 routed smooth as the top. After this, we eye-balled a lot of millwork combinations for dressing it up, covering the edges, and making it feel cohesive. The firebox got a new coat of fire-safe black paint and we chose tricorn black for the bricks. Ta-dah!

She’s painted in Farrow & Ball’s Mouse’s Back. I’ve never been so sure of a paint color in my life. Like, usually its weeks of toiling but I saw it and knew. After painting the walls a khaki color she, yes she, really shines. Especially all glowed up with a fire. One day I’ll style her up and take pretty pictures and one day she’ll have floors and a kitchen to match her beauty. For now, she serves us well on chilly winter nights and is a lovely place for stockings to hang.

